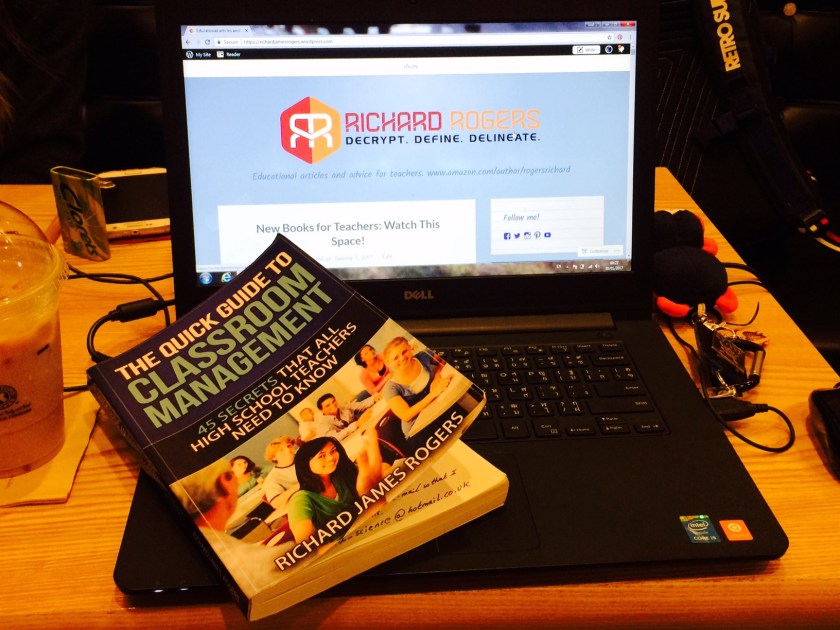
An article by Richard James Rogers, award-winning author of The Quick Guide to Classroom Management: 45 Secrets That All High School Teachers Need to Know and The Power of Praise: Empowering Students Through Positive Feedback
This blog post has been beautifully illustrated by Pop Sutthiya Lertyongphati.
Accompanying podcast episode:
We’ve all been swept up by the hype that has come in the wake of the creation of generative AI (aka GenAI) systems. Back in 2023, when ChatGPT was launched, its capability was limited to text generation, spell checking and rudimentary admin work. Now, however, the form factors of GenAI come in so many shapes and sizes. People are using AI to create slide presentations, images and videos, to record meeting notes, to generate complex documents such as spreadsheets and academic papers and even to act as virtual therapists.
One thing that I would like to assure all of my readers about is that I have NOT used GenAI to write this blog post. I believe that bloggers, journalists, reporters and writers have a duty to be genuine and sincere. That’s why, from now on, you’ll see this badge on my blog posts as a verified symbol of my authenticity:

And, before we begin, I think this juxtaposition is a good place to launch my tips from: AI tools can save us tons and tons of time, but they cannot replicate human authenticity. For someone who’s an award-winning author, like myself, it’s actually very easy to tell when an email, for example, has been created solely from prompt engineering. And that doesn’t necessarily mean that GenAI is a bad thing: it’s just that there are optimal and sub-optimal ways of using such systems, which I will outline today.
DISCLAIMER: Always check your school’s policies and procedures before using any GenAI system. If in doubt, check with your school’s senior leadership team.
My Top Three Use Cases for GenAI Systems as a Teacher
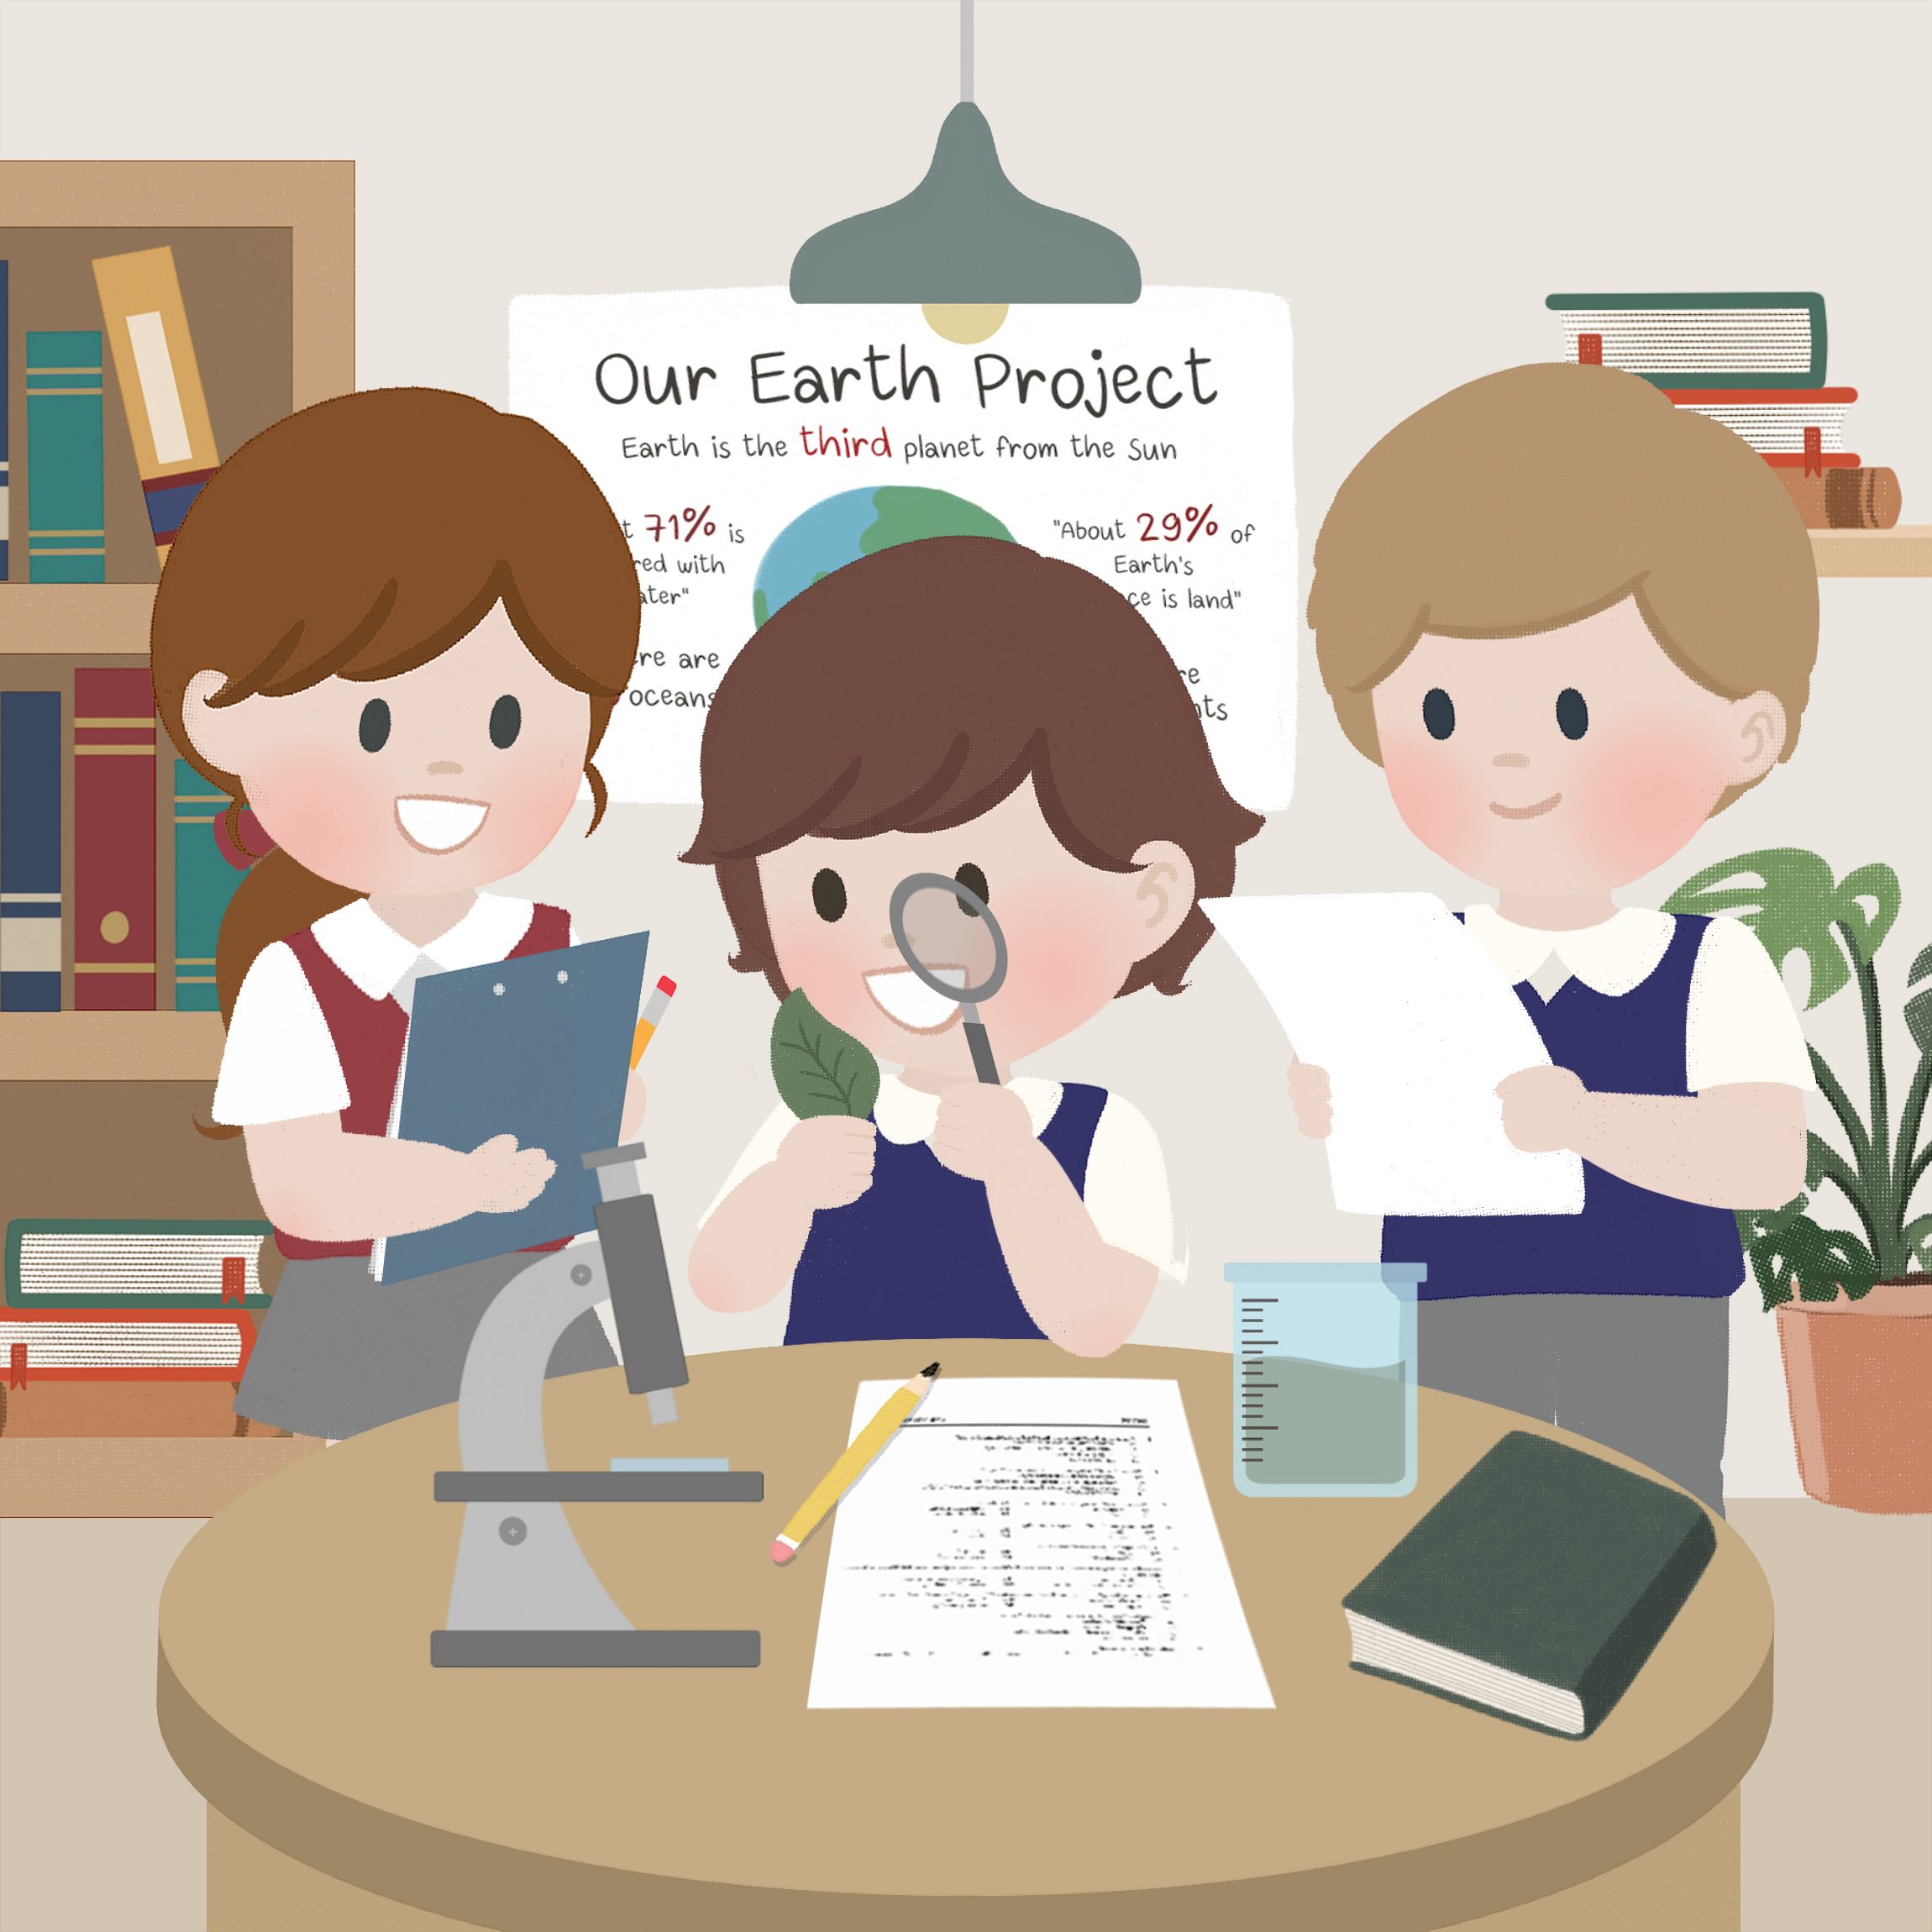
#1. Creating slide presentations: Gamma.app
I recently discovered this system when preparing to deliver one of my corporate training workshops. Here’s what I love about it:
- You can generate very high quality slides from simple prompts, in a matter of seconds. It’s very good for quick slide preparation (even quicker than sourcing slides from places like the TES, for example).
- The content produced is really, really good!
- Slides come with AI generated images (which are brilliant), which saves you the hassle of having to include citations/captions when attributing images to their sources.
Things to consider:
- The text produced on the slides can be quite small, in parts, so you may have to change font sizes afterwards.
- A free trial only gives you so many generations, and the slides come with the Gamma logo on them. However, the logo is removed if you pay for the full subscription, which is only US $8 per month (billed annually at US $96). This plan gives you unlimited AI generation for slide decks up to 20 slides per time (which fulfills most of my needs as a teacher).
Here’s an example of a slide that Gamma created for me recently:

Overall, Gamma is an excellent system and I recommend teachers everywhere to give it a go. Do the free trial and see if it is the right app for you. I personally signed up for the Plus plan, as I can see Gamma being an excellent assistant for a lot of the presentations I deliver.
#2. Recording meeting notes: Otter.ai
This is probably the app that will make you gaze in wonder the most when you first try it – at least that’s what happened to me! Gone are the days when you need to hurriedly write down everything you could manage to hear in a meeting, and then figure what to do (and by when) once the meeting was over. Otter does all of that for you.
By listening to the meeting conversation, Otter can identify speakers and transcribe the meeting as it happens, in real-time. It’ll even provide a summary of what was said at the end, along with a list of key action items (you’ll be amazed at how much it picks up, and how much you missed, when you see it!). The action items even come with check boxes for you to tick off when they’re done!
Like Gamma, Otter allows you a limited free trial (300 monthly minutes of meetings). For the Pro version, which gives you 1200 transcription minutes per month (with a maximum of 90 minutes per meeting), the price is US $8.33 per month (billed annually as US $99.99).
I’ve not (yet) gone for the pro version of Otter, but it is something I’m considering. One thing I hate about meetings is the inability to be fully present as I feel the need to constantly make written notes. With Otter, I can see myself relaxing and being fully attentive whilst the system transcribes everything for me.
#3. Your Overall Personal Assistant: ChatGPT 5 (and further iterations)
GPT 5 has been hailed as a “PhD Level” assistant by its creators, Open AI. Interestingly, as if by a weird mixing of Murphy’s Law with a slap-in-the-face, I made a video all about the three apps I’ve mentioned today on August 7th, which you will see below. In that video, I mentioned ChatGPT 4 as one of my favourites. Later that day, I found out that ChatGPT 5 had just been released (that very same day!). Talk about a coincidence!
I’ve only had two days to test ChatGPT 5 and, to be honest, I’ve not seen much of a difference (yet) between it and ChatGPT 4. However, if it really is a better version of GPT 4, then it is destined to be absolutely awesome!
ChatGPT is my go-to app for a variety of generative needs. Here’s what teachers all around the world have told me about how they use ChatGPT:
- A personal therapist: ChatGPT is capable of participating in complex conversations, which makes it ideal for therapy. It offers non-biased, factual advice that can really make people feel reassured. I recently went through a mini-crisis in my life, which is very personal to me, and I found ChatGPT to be an amazing ‘friend’. It analysed my situation fully, and in a balanced way, and made me feel a lot better. It also gave me great advice. Please be aware, however, that some researchers do have legitimate concerns about using AI systems as personal therapists, so definitely consider this before using ChatGPT in this way.
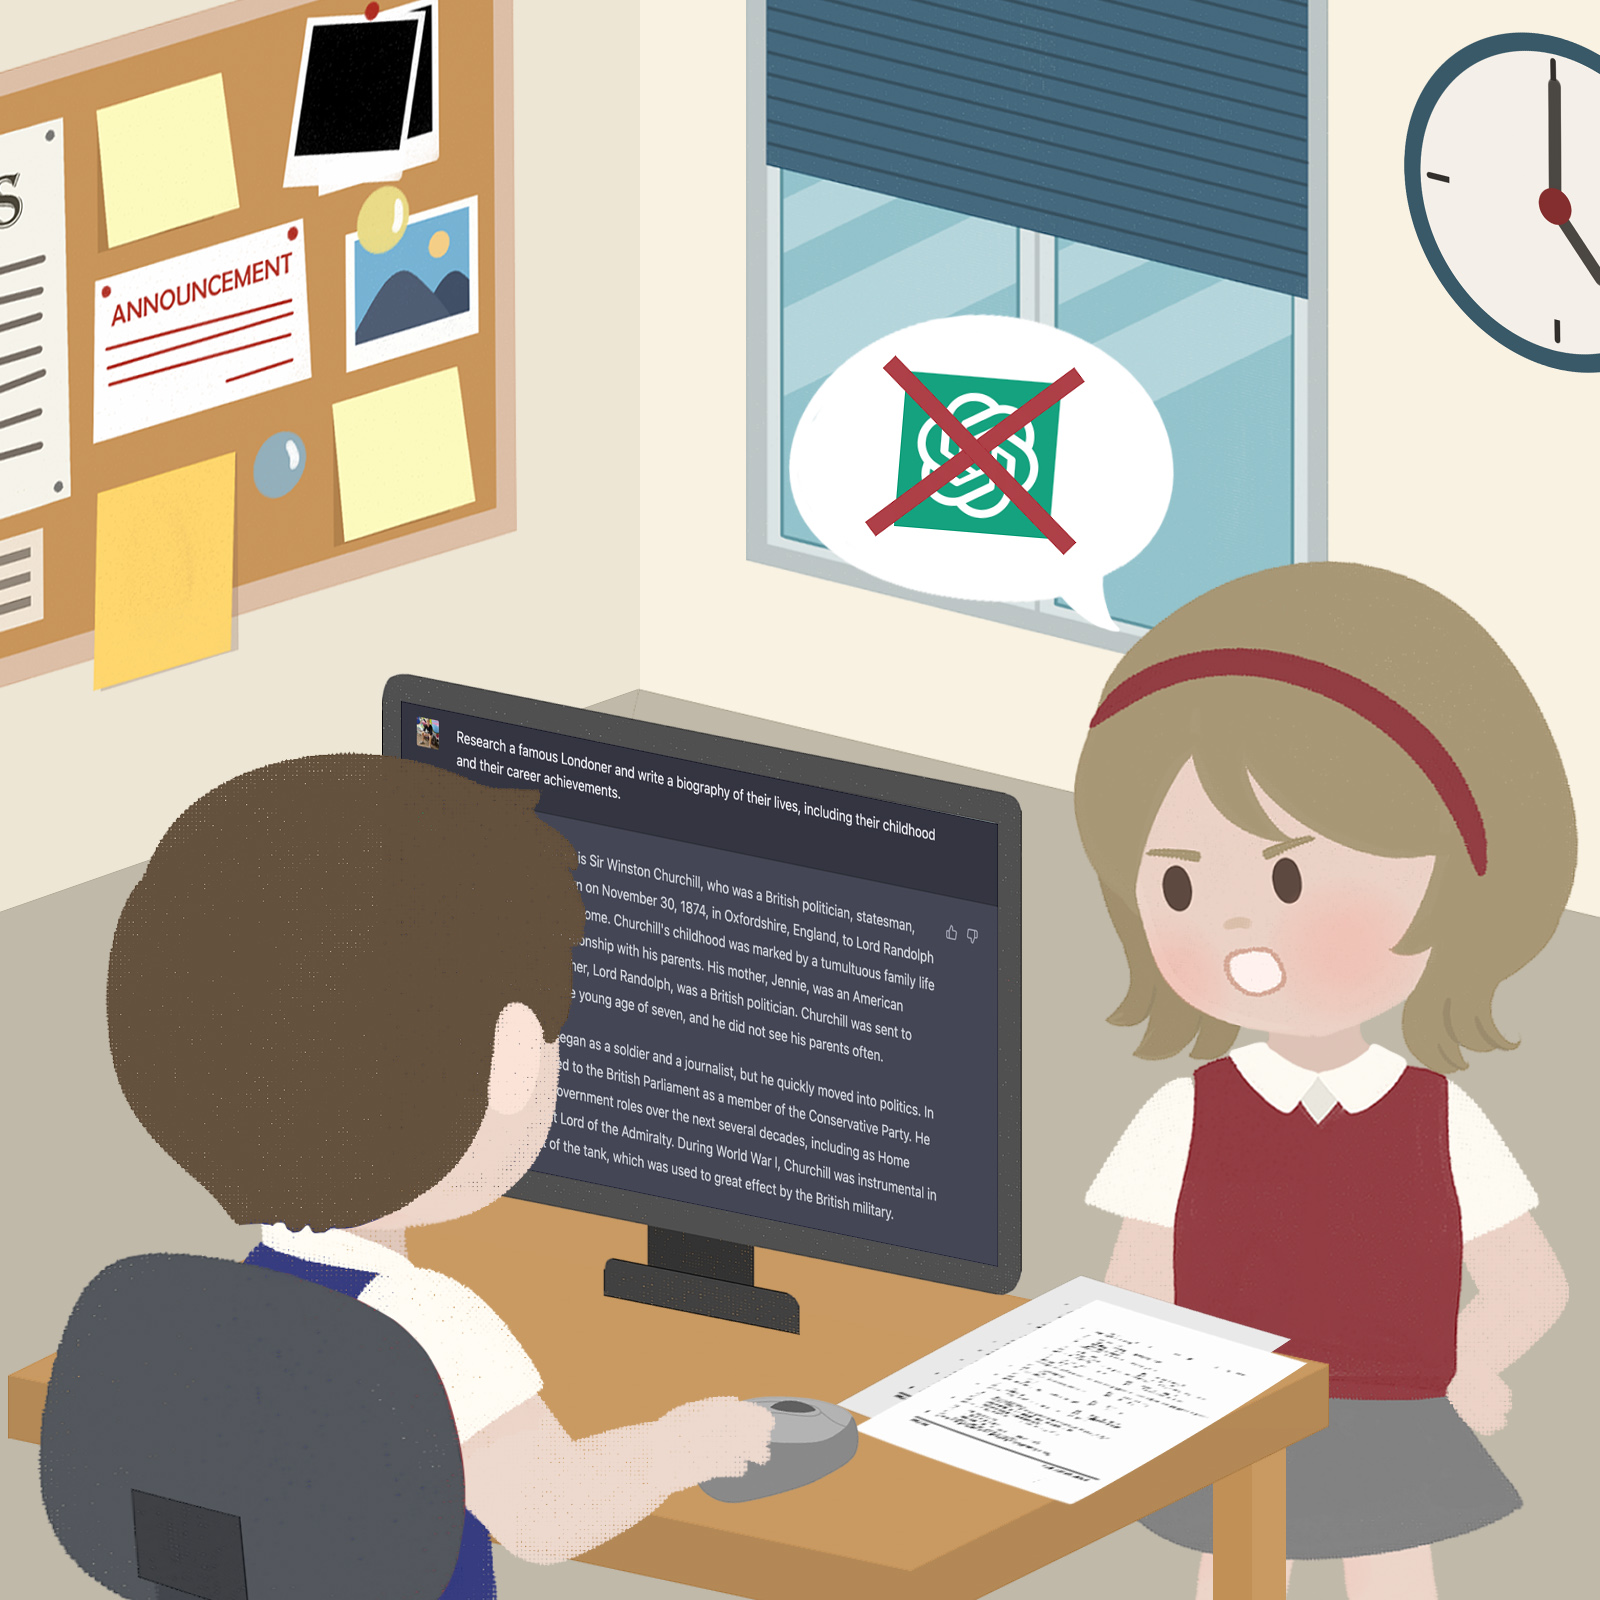
- Creating student report cards: ChatGPT can create report cards in a matter of seconds, which you can easily copy and paste into your school’s system. As mentioned in the disclaimer at the top of this blog post: please CHECK WITH YOUR SCHOOL FIRST before using GenAI in this way. If you get the green light from SLT, then remember to be a good ‘prompt engineer’: you may need to iterate outputs as they are generated. Don’t forget to specify the genders of the students you are reporting on, and provide the system with enough information to create accurate report cards. ALWAYS double-check for accuracy.
- Other generative needs: ChatGPT can create pretty much anything that you ask it too: images, Excel files, slides, and so on. However, the quality of these outputs can vary. I recommend using specialised apps (such as Gamma for slides, Otter for meetings, etc.) if you have special, and regular, use cases.
The dreaded em dash: a penultimate thought
One dead giveaway of GenAI content is the dreaded em dash, which looks like this: (—). It’s basically a very long hyphen, which is very, very rarely used in everyday situations. Even as an award-winning author, I never use em dashes in my books (unless my proofreader inserts them). There isn’t even an em dash key on standard computer keyboards. Instead, it is accessed through alt codes or special inputs. If you want your GenAI content to look more genuine, then I recommend specifying in your prompts that em dashes should not be used, or tell the system to remove em dashes during the iteration process.
My thoughts on the current stigma surrounding GenAI usage in schools
Unfortunately, whilst the corporate sector is scrambling to create smart workflows using GenAI systems, schools are woefully lagging far behind. In the teaching profession generally, the use of AI systems for the reasons I have specified today is still frowned upon. Even sourcing slides that other people have made is looked upon unfavorably by some school leaders. This, sadly, has caused a lot of teachers to go ‘underground’ and use GenAI covertly.
Things will have to change soon, however. I have been doing a lot of courses in AI this year (check out my LinkedIn profile to see my certs) and I can tell you sincerely: it’s FRIGHTENING how advanced GenAI has already become. These systems are already breathtakingly good, and they’re only going to get better. Sooner or later, the stigma surrounding teachers usage of GenAI in schools will have to dissolve: it’s the only way that schools are going to be able to stay relevant.